
MySQL Workbench stands as an open-source and user-friendly Graphical User Interface (GUI) application, thoughtfully provided by Oracle Corporation. It furnishes an extensive array of tools and features, purposefully designed to empower users in the adept management of MySQL databases. These invaluable tools cater to the needs of database administrators, architects, and developers, equipping them with the ability to seamlessly visualize and engage with MySQL database designs.
This comprehensive guide will lead you through the installation and utilization of MySQL Workbench on the Ubuntu 22.04 platform, ensuring a smooth and efficient experience.
MySQL Workbench on Ubuntu 22.04 LTS
Discover the seamless process of installing and configuring MySQL Workbench on your Ubuntu 22.04 LTS system with the following detailed instructions. This step-by-step guide ensures a successful installation and effective use of MySQL Workbench.
Step 1: Begin with a System Update
Open the Terminal using ‘CTRL + ALT + T,’ then execute this command:
sudo apt update
Step 2: Installing MySQL Server for Smooth MySQL Workbench Operation
MySQL Workbench, a user-friendly graphical application, facilitates efficient MySQL server management. To ensure seamless utilization of this tool, it’s imperative to have MySQL server installed as a prerequisite on your Ubuntu machine. You can achieve this by executing the following ‘sudo’ command in your terminal:
sudo apt-get install mysql-server -y
The MySQL installation will require some time to complete. When it’s finished, you’ll observe the cursor advancing to the next line without encountering any errors:
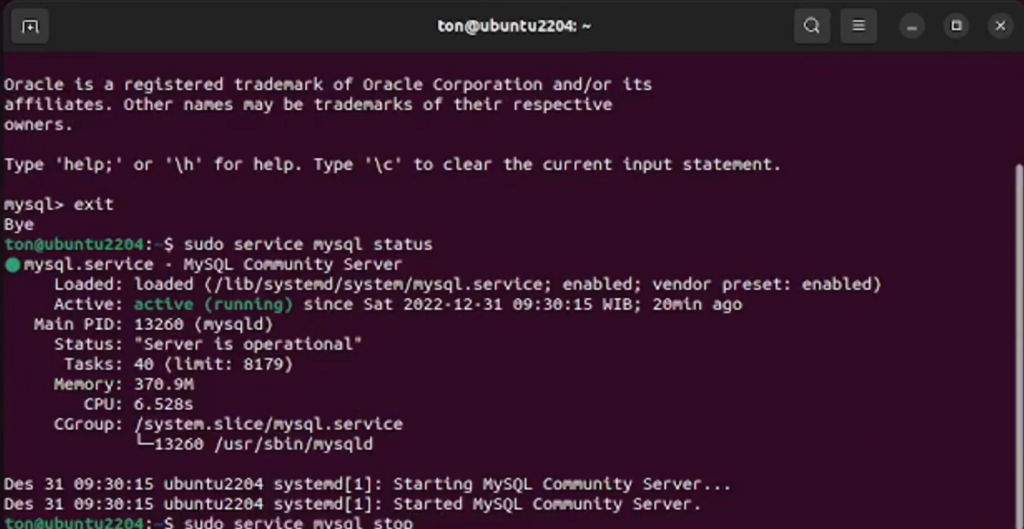
Step 3: Checking the MySQL Service Status
To ensure the MySQL service is active and running as expected, execute the provided command below:
systemctl is-active mysql
Step 4: Configuring MySQL Server Settings
Next, employ the ‘sudo’ command provided below to configure and fine-tune the MySQL server settings for optimal performance:
sudo mysql_secure_installation
After following these steps you can set a new password for the ‘root’ user. Confirm your new password by pressing ‘y’ to proceed with the provided password:
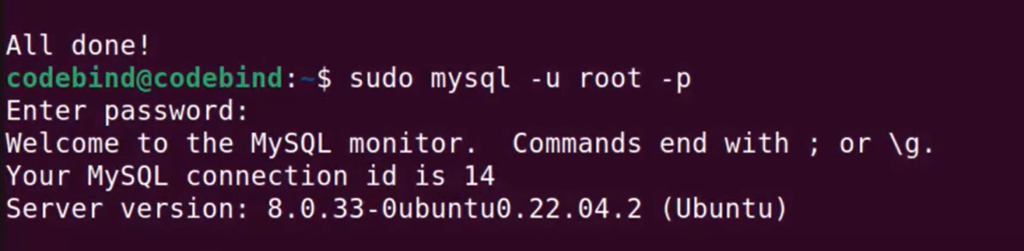
The output above serves as confirmation that MySQL Server has been successfully configured.
Step 5: Installing MySQL Workbench on Ubuntu 22.04
With system prepared, it’s time to proceed with the installation of MySQL Workbench on your Ubuntu 22.04 system. To kickstart this installation process, simply execute the command provided below:
sudo snap install mysql-workbench-community
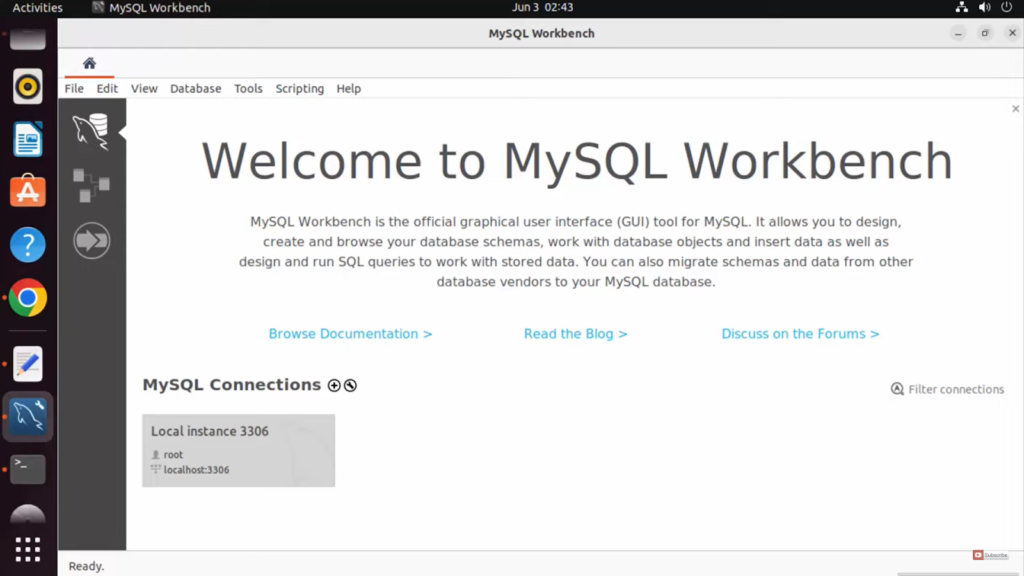
Using MySQL Workbench on Ubuntu 22.04 LTS:
- Begin by clicking on the “Show Apps” icon located in your desktop environment;
- In the search menu, type “MySQL Workbench” to locate the application;
- Once you find MySQL Workbench in the search results, click on it to launch the application.
This straightforward process will help you easily launch MySQL Workbench and start using it on your Ubuntu 22.04 LTS system. Upon completing these steps, you will be directed to the following window:
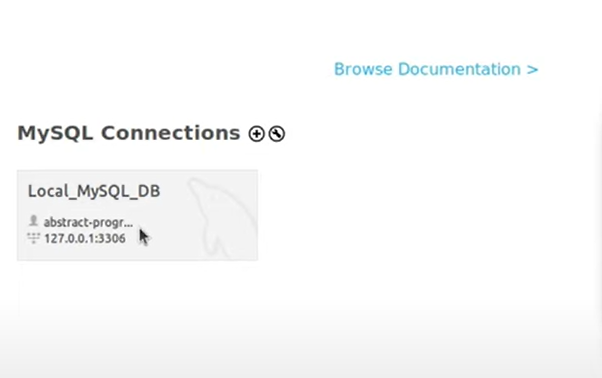
Enter the connection name and click the “OK” button to establish a new connection:
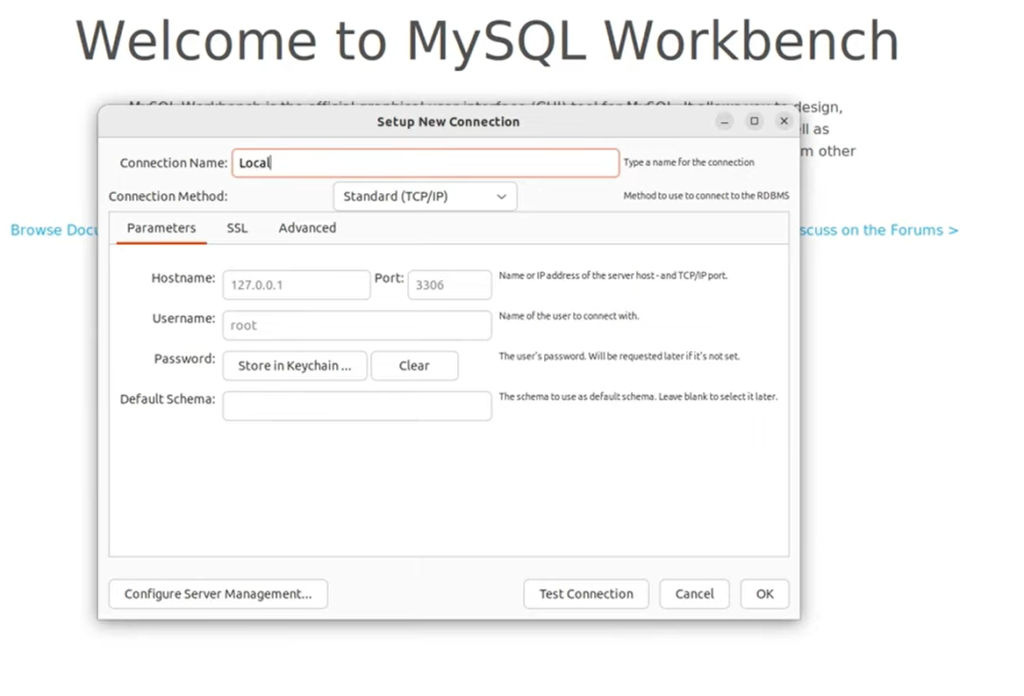
Next, select the newly created connection to establish a connection with the MySQL Server:
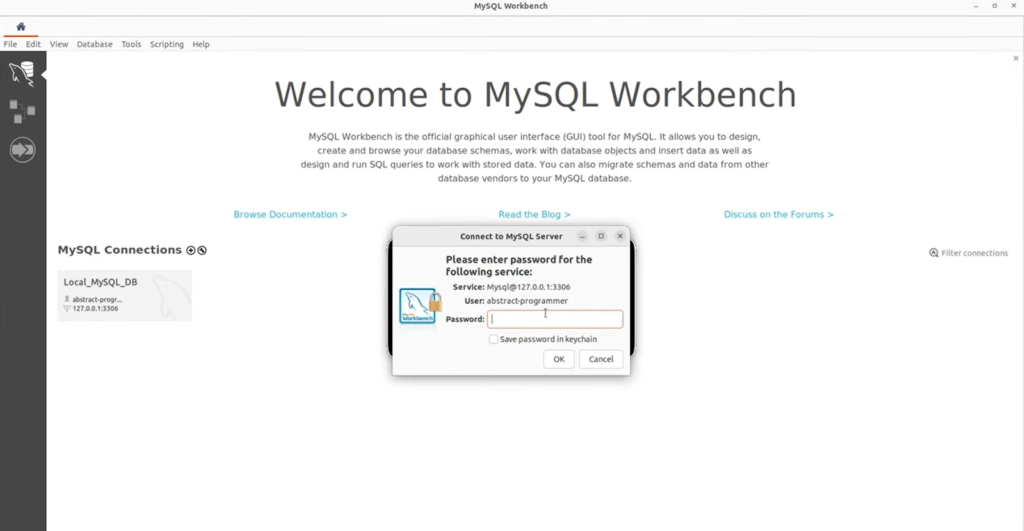
Enter a valid root user password, then click the “OK” button to proceed:
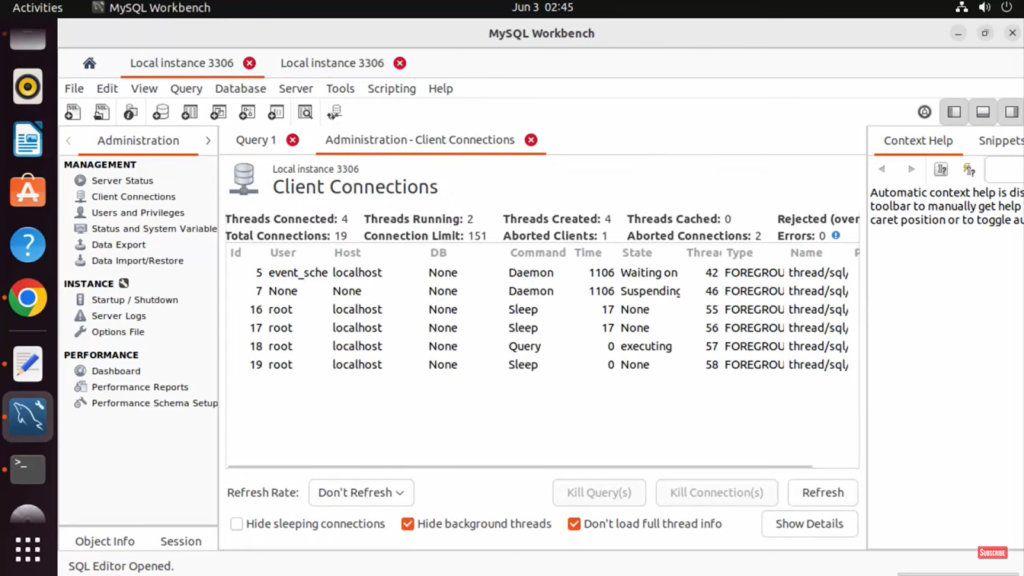
After this action, a new query window or tool will open, providing users with the capability to execute various MySQL commands, functions, and queries. As an example, consider the following snippet where the VERSION() function is used to check the installed version of MySQL:
This concludes the installation and usage guide for MySQL Workbench on Ubuntu 22.04 LTS.
Conclusion
To set up MySQL Workbench on Ubuntu 22.04 LTS, begin by installing MySQL server, verifying the MySQL service status, configuring the MySQL server, and finally, installing MySQL Workbench using the command “sudo snap install mysql-workbench-community.” To confirm the installed MySQL version, execute the command “SELECT VERSION().” This article has provided a comprehensive walkthrough of the entire process for installing and utilizing MySQL Workbench on Ubuntu 22.04 LTS.